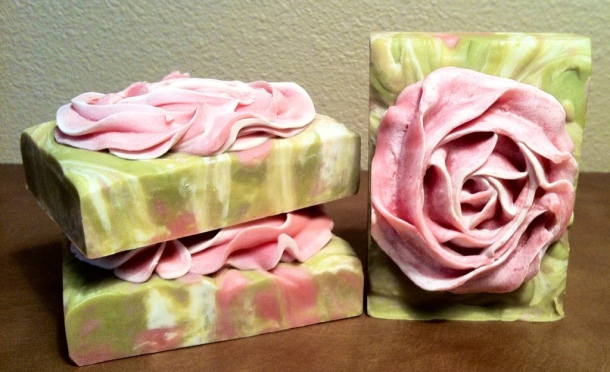
There are a handful of batches that I lovingly call my ‘Anxiety Batch’. This lovely soap definitely qualifies for that distinction. Floral fragrances are known for acceleration. Combining Honeysuckle and Rose definitely makes this a tricky batch. Why not throw caution to the wind and combine a mica oil swirl and a two toned piped soap rose?
This batch combines two techniques. The prep work consists of the mica oil, the color for the main batch, the rose color and prepping the piping bags for the two toned roses.
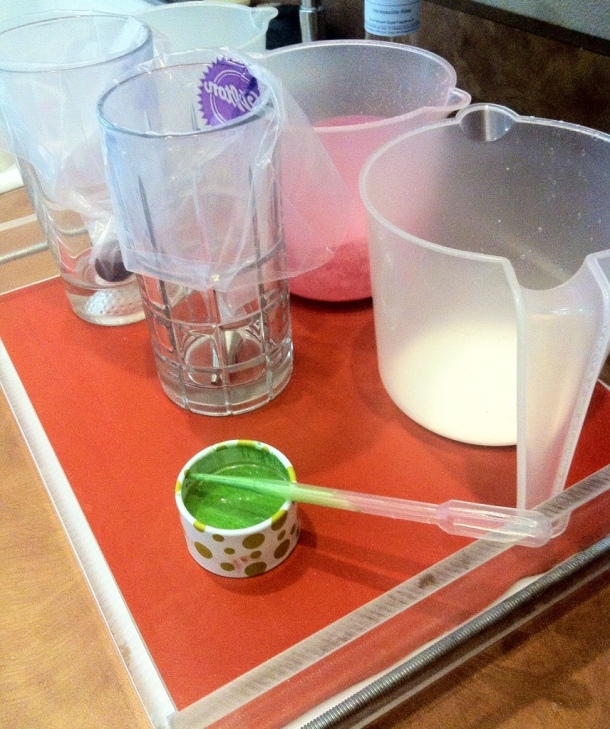
Once the entire batch is brought to trace, I pour out about 3 1/2 cups into the pink mica container and a teeny bit of white soap. These are left unscented and set aside.
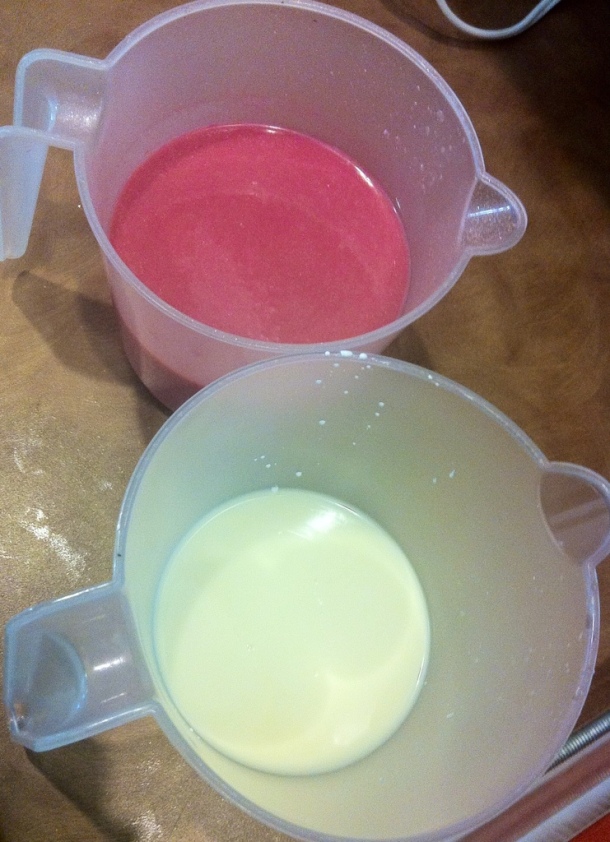
Next I add titanium dioxide to the rest of the batch and hand whisk in the fragrance to *hopefully* slow down the acceleration of the soap. The white soap is then poured into the slab mold.
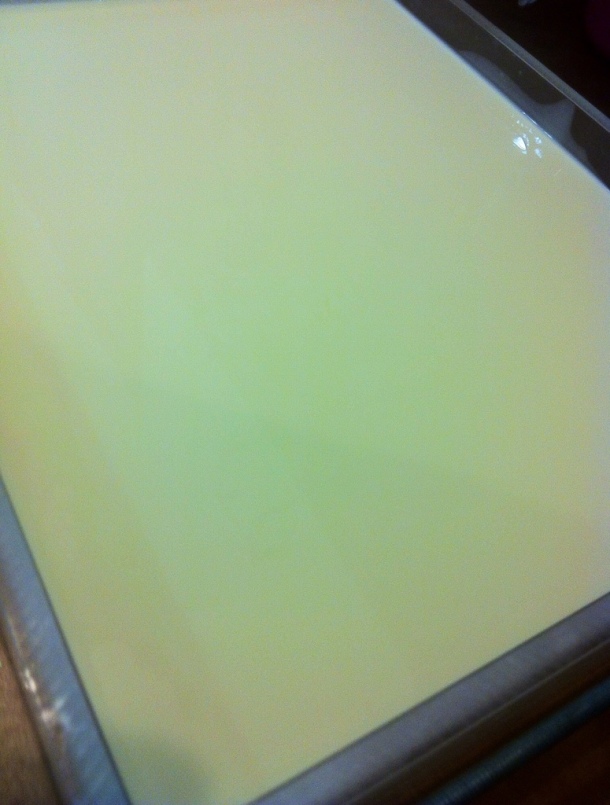
Using a pipette, I add vertical lines of mica oil. A good rule of thumb is 1 tsp mica to 1 TBSP oil! it should have the consistency of fresh nail polish.
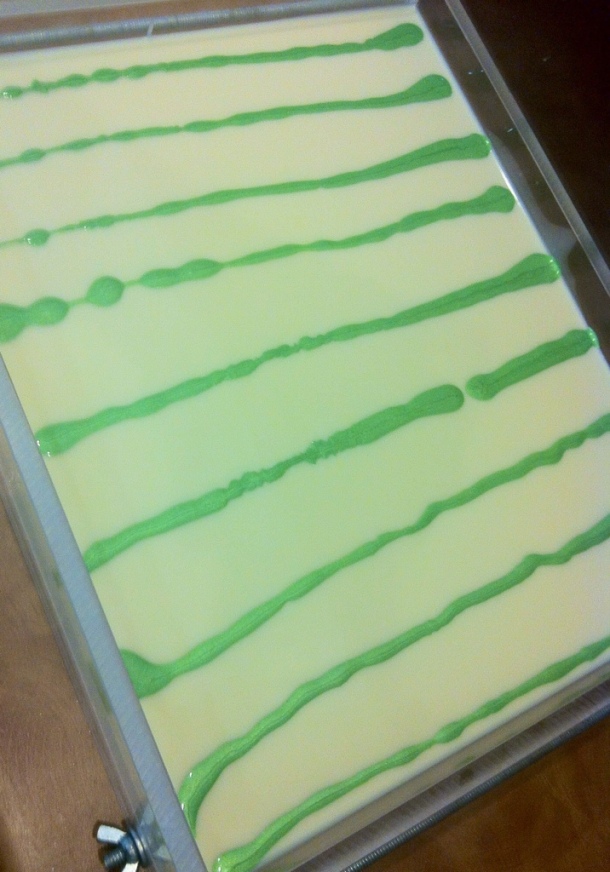
Grabbing my skewer, I swirled the mica oil lines from the top left hand corner of the mold using this design:
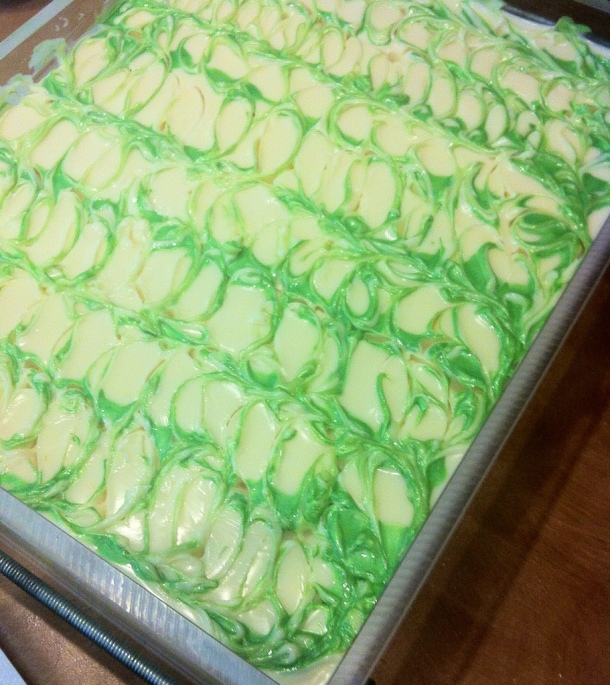
UGH! As you can see, my fragrance accelerated. Oh well… Using a tried and true advanced technique 😉 I banged the hell out of the mold on the counter. Moving on… It’s time to add the dividers and move onto the roses.
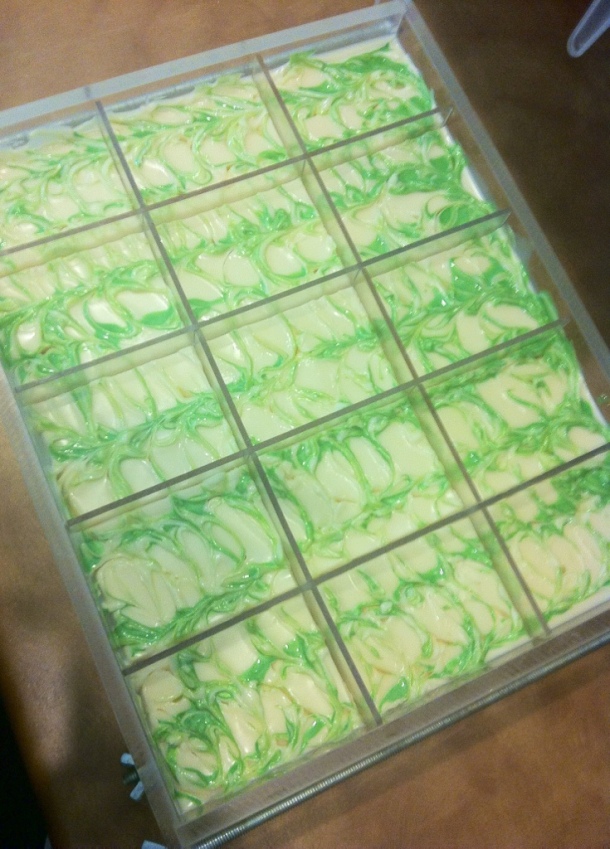
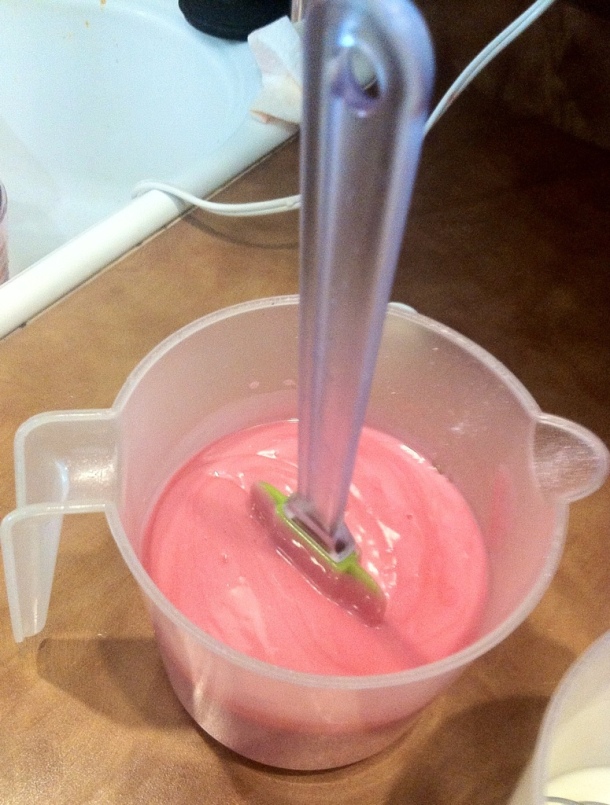
Piping soap is easier than you may think but you do need to work quickly once the soap reaches the perfect consistency. I added a total of 0.5 oz of fragrance to the pink and white soap to help speed up trace. I know when the soap is ready to pipe when my spatula stands straight up in the soap without tipping over at all.
There are two different methods to make a two toned soap rose. The first is taking two smaller piping bags, one pink & one white. Combine those two bags into a larger piping bag with the tip and pipe. I prefer this method but I only had my smaller 12″ bags to work with.
Instead, I took my frosting bag with the rose decorating tip (I used a Wilton 1M) and added four thin lines of white running up the sides of the frosting bag. It may be helpful to see a pic:
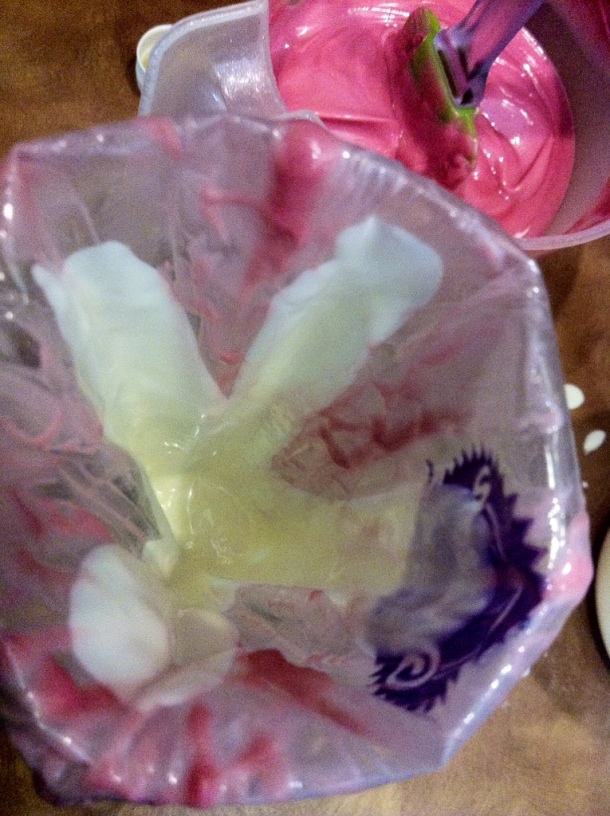
To do this, I put the white soap in a frosting bag and cut a very small hole on the bottom to control the flow of soap. If you’ve never piped soap or a cupcake, put your frosting bag in a tall glass and wrap the top of the bag around the mouth of the glass. This helps stabilize the bag until you’re ready to pipe.
Now it’s time to add the pink soap and start piping! Start with your tip perpendicular to the top of your bar.
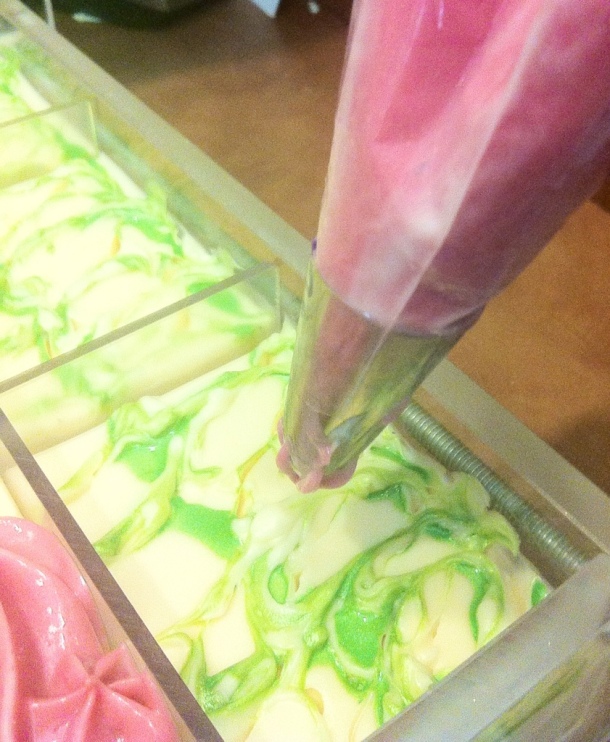
Add a small dollop to get the rose started.
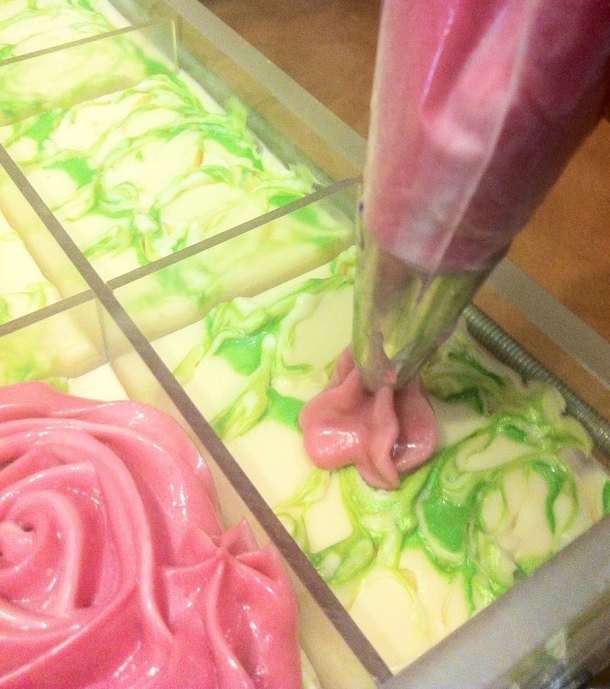
Staying perpendicular to the soap wrap the tip counterclockwise around the first dollop of soap while applying gentle pressure to the top of your piping bag.
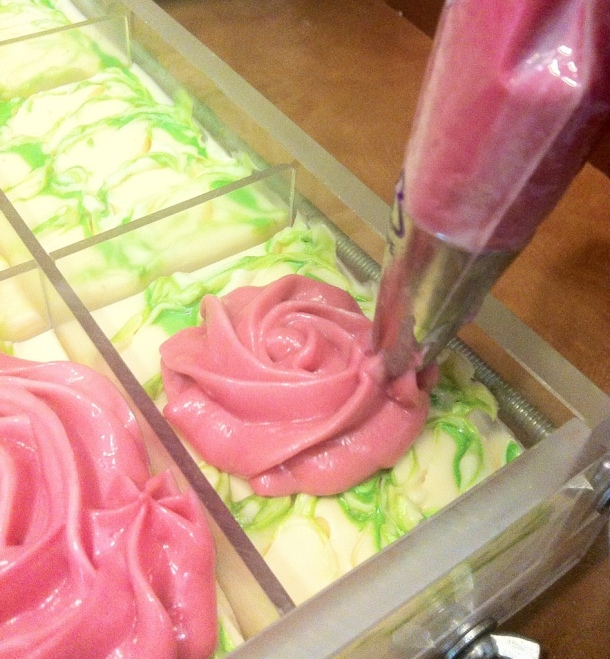
To finish your rose, stop applying pressure to the frosting bag and pull up quickly.
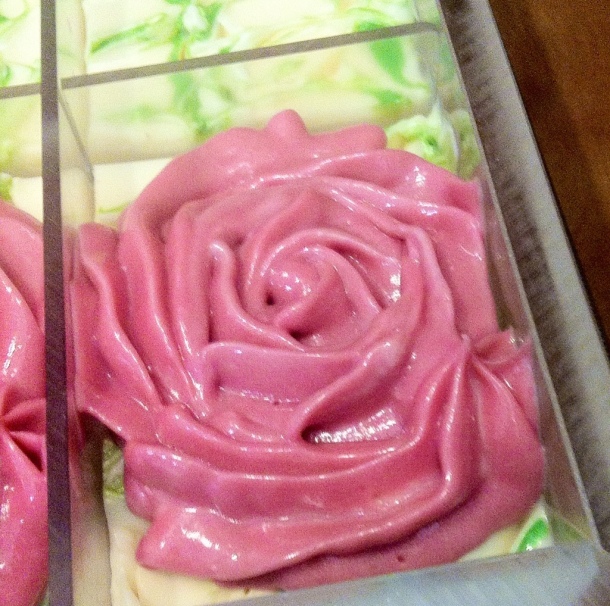
Voila! Soap Roses!!! Feel free to practice this technique ahead of time. You can use regular frosting or you can make a small batch of soap and pipe a bunch of roses on wax paper. Sell those beauties if you can since they make a beautiful small bar of soap!
Here’s the final product in the mold.
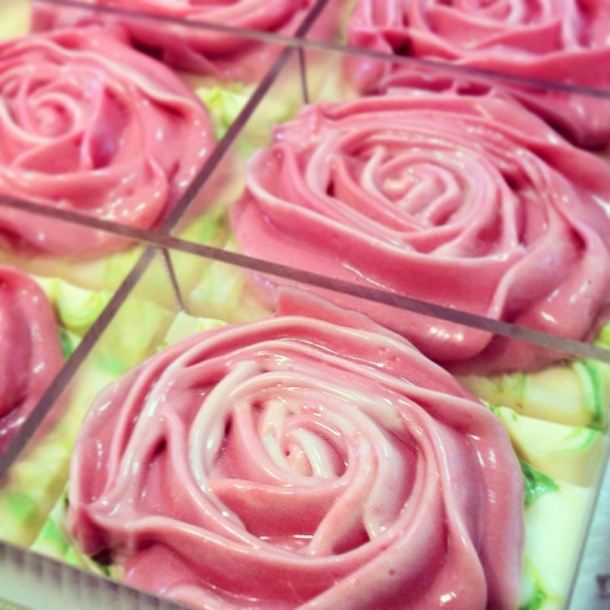
Enjoy a few shots of this soap from my first batch of Bloom. (Please note: the base is somewhat different in these first batch pics)
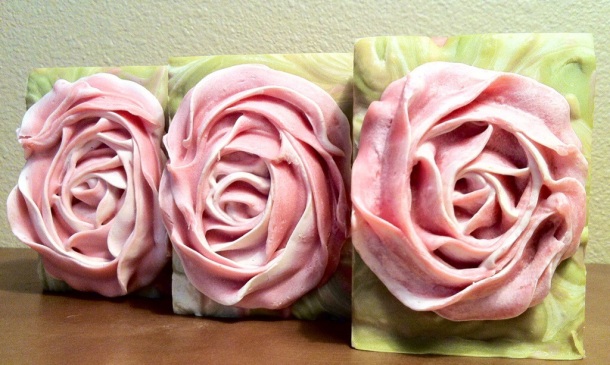
This bar and more can be found at Baby Duck Soap Co.
